
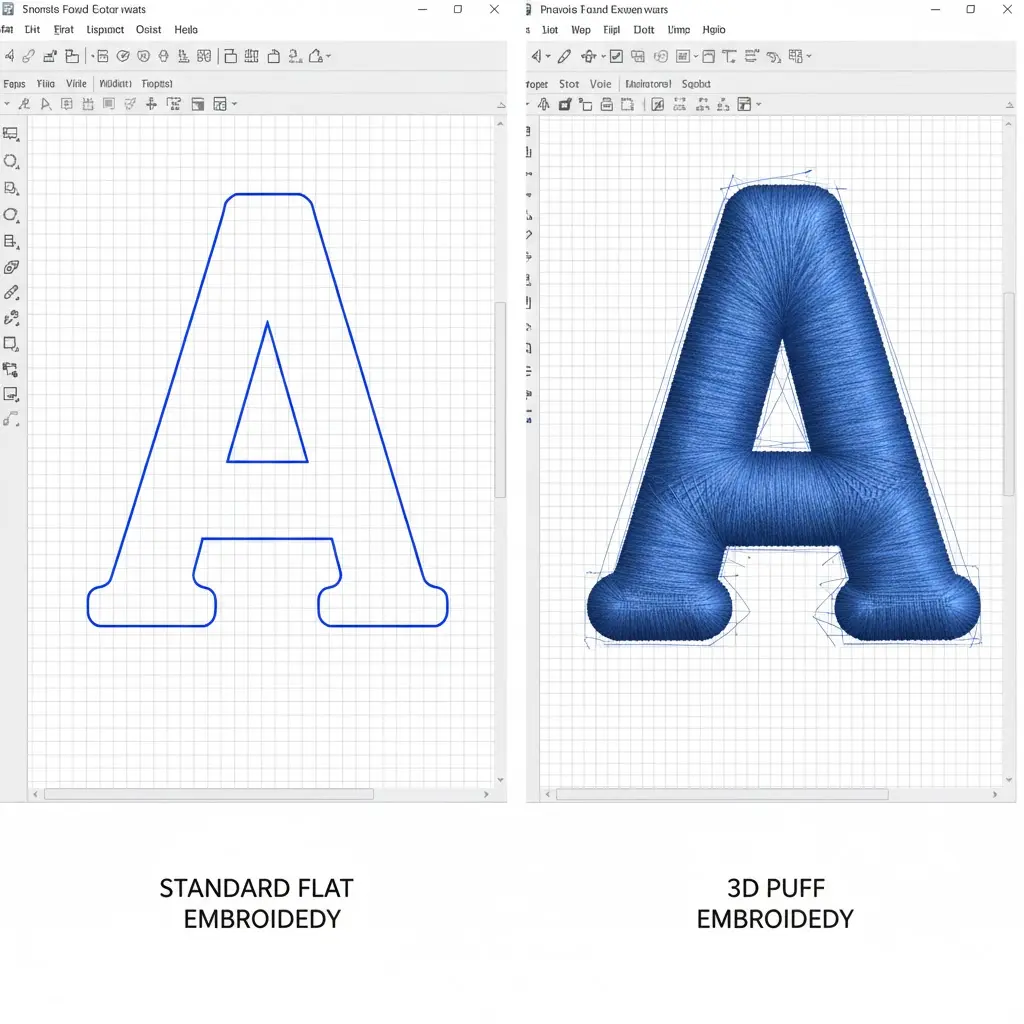
Flat embroidery vs 3D puff embroidery is not a simple choice between basic and premium decoration. Each method produces a different visual effect, requires different artwork, and interacts differently with the crown of a custom hat. A clean result starts by matching the stitch method to the logo and hat construction before sampling.
Flat embroidery is versatile and can reproduce a wider range of linework, fills, and smaller details. 3D puff places foam beneath selected satin stitches to create raised areas, but it works best with bold shapes and enough stitch width to cover the foam. Many retail hats combine the two methods rather than forcing the entire logo into one technique.
Flat Embroidery and 3D Puff at a Glance
| Decision factor | Flat embroidery | 3D puff embroidery |
|---|---|---|
| Visual effect | Stitches sit close to the crown | Selected elements have visible height |
| Best artwork | Linework, fills, lettering, layered color and moderate detail | Bold letters, wide borders and simple solid shapes |
| Small details | More flexible, within embroidery limits | Often need to be enlarged, simplified or kept flat |
| Crown requirements | Works across many structures when digitized correctly | Usually benefits from a stable embroidery area and supportive crown |
| Sample focus | Legibility, puckering, coverage and alignment | Foam coverage, clean ends, consistent height and crown shape |
Neither column is a universal specification. Fabric, crown profile, internal support, logo size, placement, thread, digitizing, and machine setup must be evaluated as a complete combination.
When Flat Embroidery Is the Better Choice
Flat embroidery is often the practical starting point when a logo contains several colors, narrow outlines, curved script, smaller lettering, or multiple shapes that need clear separation. Because the stitches do not need to wrap over foam, the digitizer has more freedom to manage different stitch directions and overlaps.
It also works well for side and back placements, where the available area may be smaller or more curved than the front. A lightweight performance hat, soft unstructured cap, or thin side panel may still require a restrained design and suitable backing, but flat embroidery generally places less volume on the panel than a raised treatment.
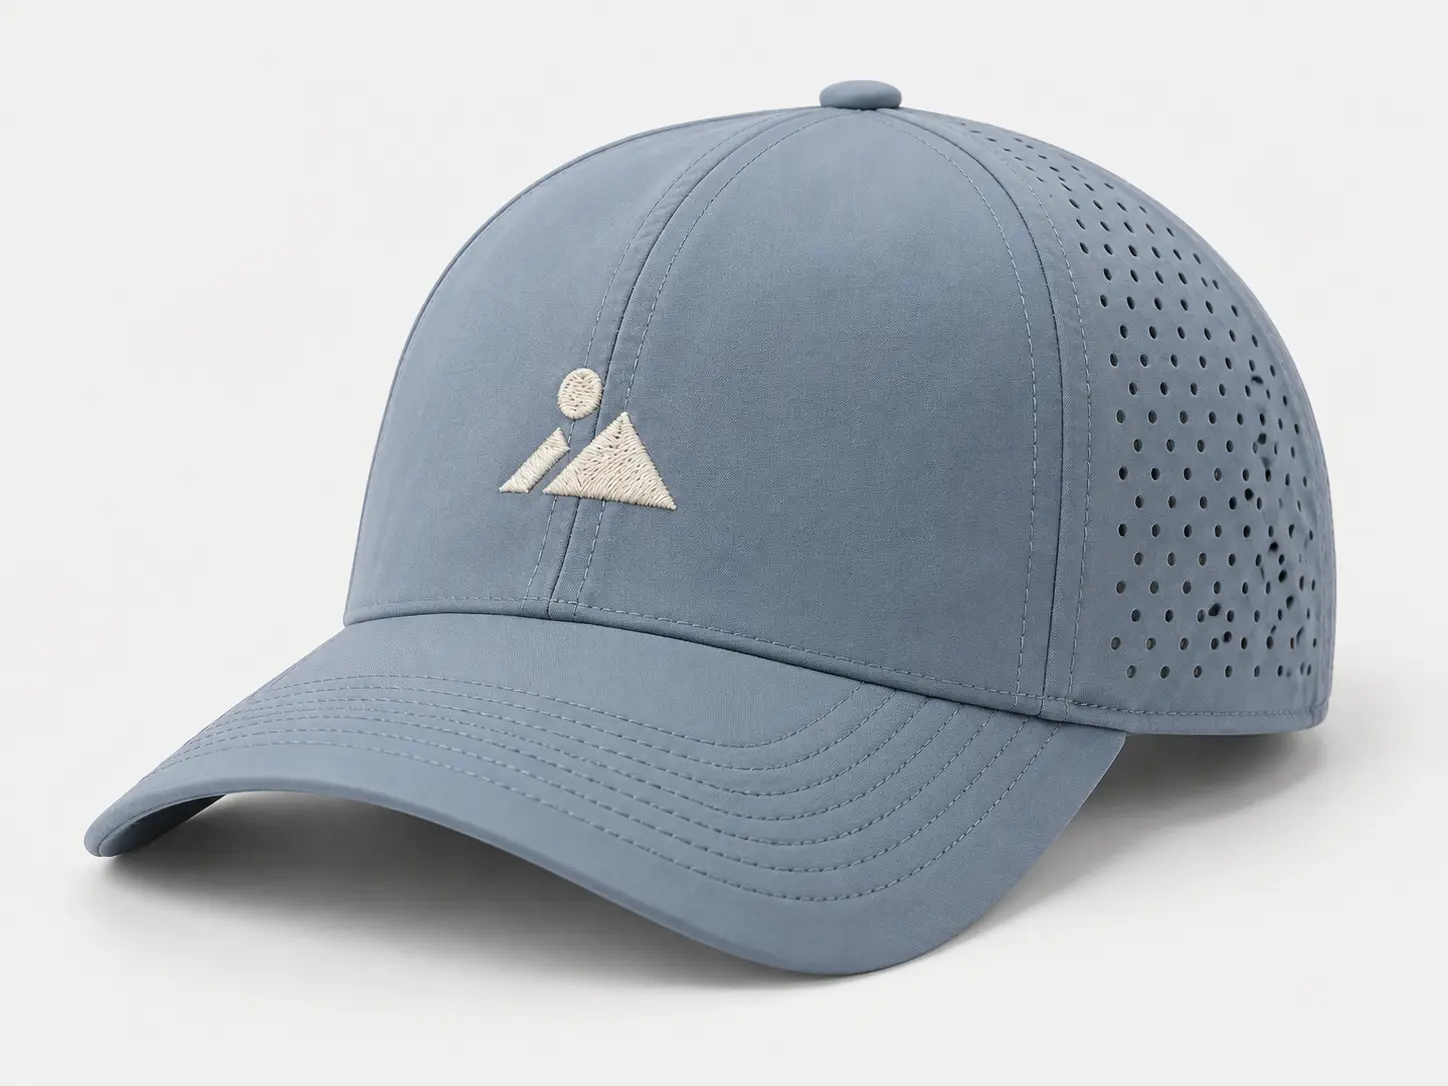
Choose flat embroidery when the design depends more on clarity and color relationships than on height. It should not be treated as a compromise: careful digitizing, appropriate thread coverage, and correct placement can make a flat design look deliberate and refined.
When 3D Puff Embroidery Works Well
3D puff is suited to artwork that needs a strong raised focal point. Block initials, bold wordmarks, wide outlines, and simple geometric marks are common candidates. The satin stitches must be wide enough to cover the foam and close the exposed ends, so narrow lines and tiny counters inside letters may not reproduce cleanly.
The method is most predictable on a crown that provides a stable embroidery surface. Structured fronts are frequently selected, but “structured” alone does not guarantee success. The panel seam, crown curve, fabric weave, front support, logo dimensions, and embroidery location still affect the result.
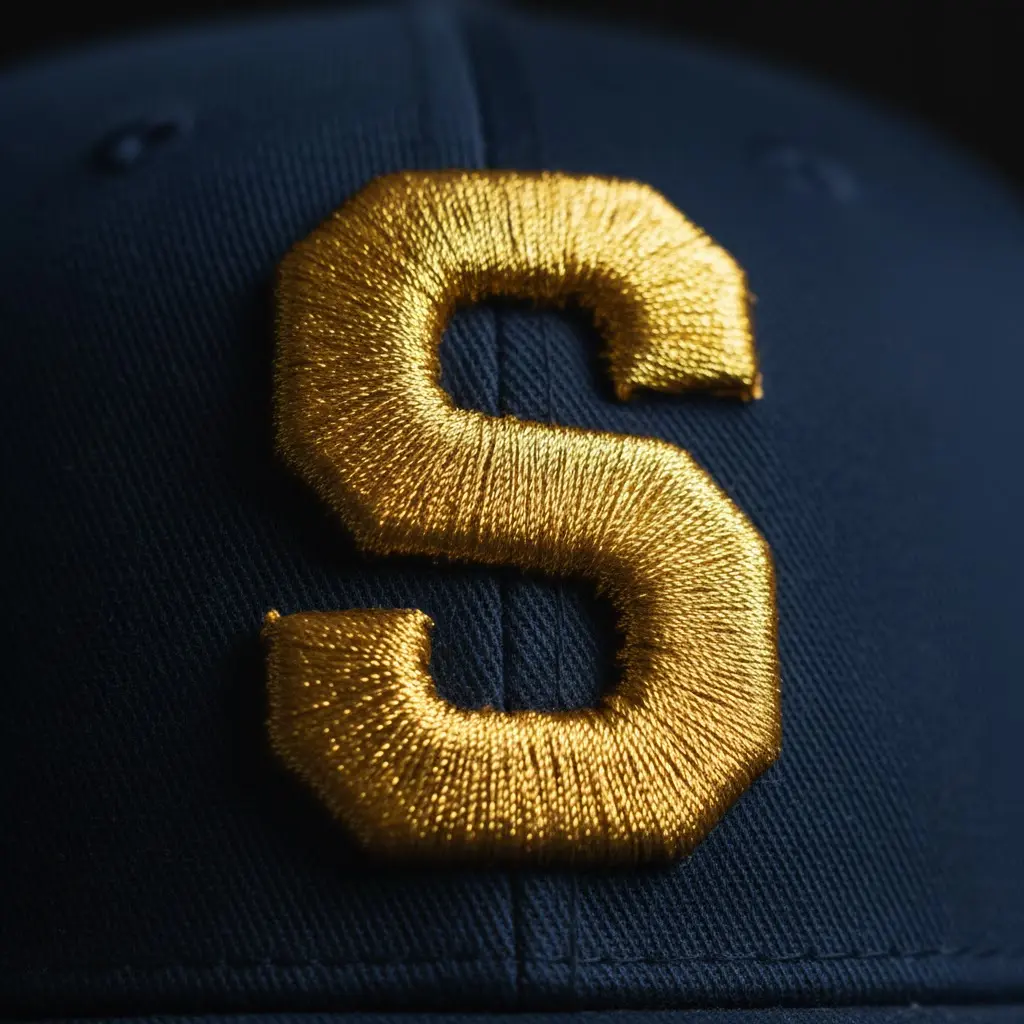
Brands should avoid assuming that more height automatically creates a better retail product. Excessive volume can make corners untidy, reduce readability, or overpower the proportions of a low-profile crown. The approved sample should determine the appropriate raised effect for that particular logo and hat.
Some Logos Should Combine Both Methods
A combination design can use 3D puff for the primary letters or emblem and flat embroidery for small text, outlines, shadows, or supporting graphics. This preserves hierarchy without asking foam to reproduce details it cannot handle well.
For example, a large two-letter monogram may be raised while a small location line remains flat. A badge-shaped logo may use a raised outer wordmark and flat interior details. The important point is to identify these areas in the artwork brief before digitizing; leaving the decision until the machine sample can lead to unnecessary revisions.
If a logo contains photographic shading, extremely fine text, or detail that still becomes unreadable in flat stitches, another decoration may be more appropriate. Our custom hat decoration options include embroidery as well as patch and label constructions that may preserve complex artwork more effectively.
Artwork Decisions That Affect the Result
The factory should receive a clean vector logo when possible, the intended finished dimensions, placement, color references, and a note identifying any raised sections. A generic image labeled “make this 3D” does not provide enough information to build a reliable stitch file.
Review these points before digitizing:
- Minimum feature size: small gaps and narrow strokes may need to be opened or simplified.
- Letter endings: exposed ends in raised satin areas need a stitch strategy that closes the foam.
- Overlaps: flat and raised elements need a planned sewing sequence.
- Center seams: critical details should not accidentally fall on a thickness change.
- Finished dimensions: the same logo file may require different digitizing for front, side, and back placements.
- Color contrast: thread, foam, and crown colors should be considered together in case small gaps become visible.
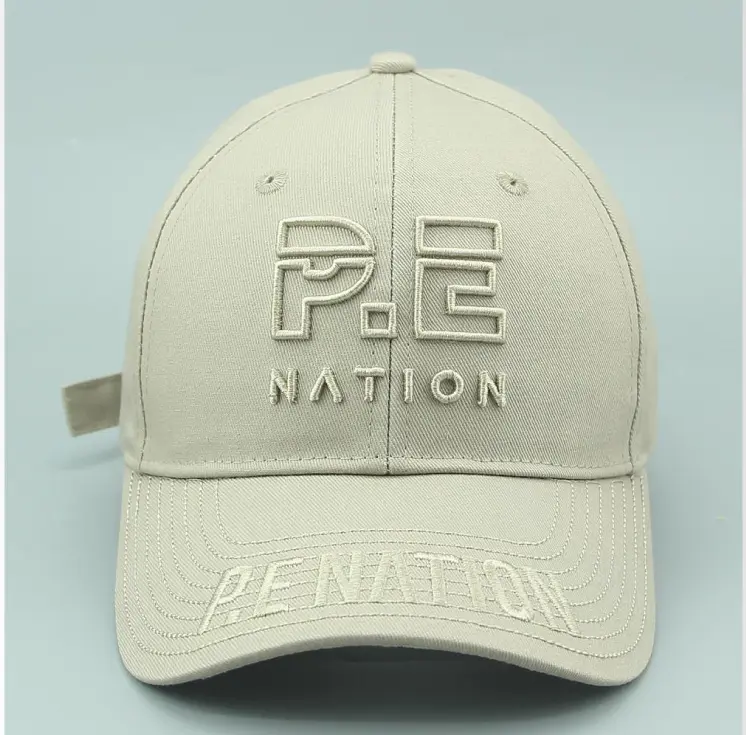
Digitizing is a production file-building process, not a one-click conversion. Stitch direction, underlay, coverage, compensation, and sequence are adjusted for the design and material. Exact settings vary, so universal density, tension, needle, foam thickness, or machine-speed numbers should not be copied into every purchase order.
Match the Decoration to the Hat Construction
The usable embroidery area is shaped by the crown rather than by a flat rectangle on a mockup. Six-panel caps introduce a center seam. Five-panel constructions may provide a more uninterrupted front, although their crown angle and material still matter. Unstructured hats flex more easily, while structured hats include support that can help hold the front shape.
Fabric weight alone is not a reliable selection rule. A stable, tightly constructed lightweight fabric may behave better than a heavier but loose or highly finished material. Stretch, weave, coating, washing, panel reinforcement, and backing all influence how the crown responds to stitches.
For a broader explanation of these dependencies, see how full custom hats can be designed for better embroidery. Brands selecting a classic crown can also review our custom baseball cap options.
What to Check on the Physical Sample
A digital mockup can confirm approximate placement and scale, but it cannot prove thread coverage, foam height, crown movement, or the appearance of the logo when the hat is worn. Approve the actual decoration on the intended construction before bulk production.
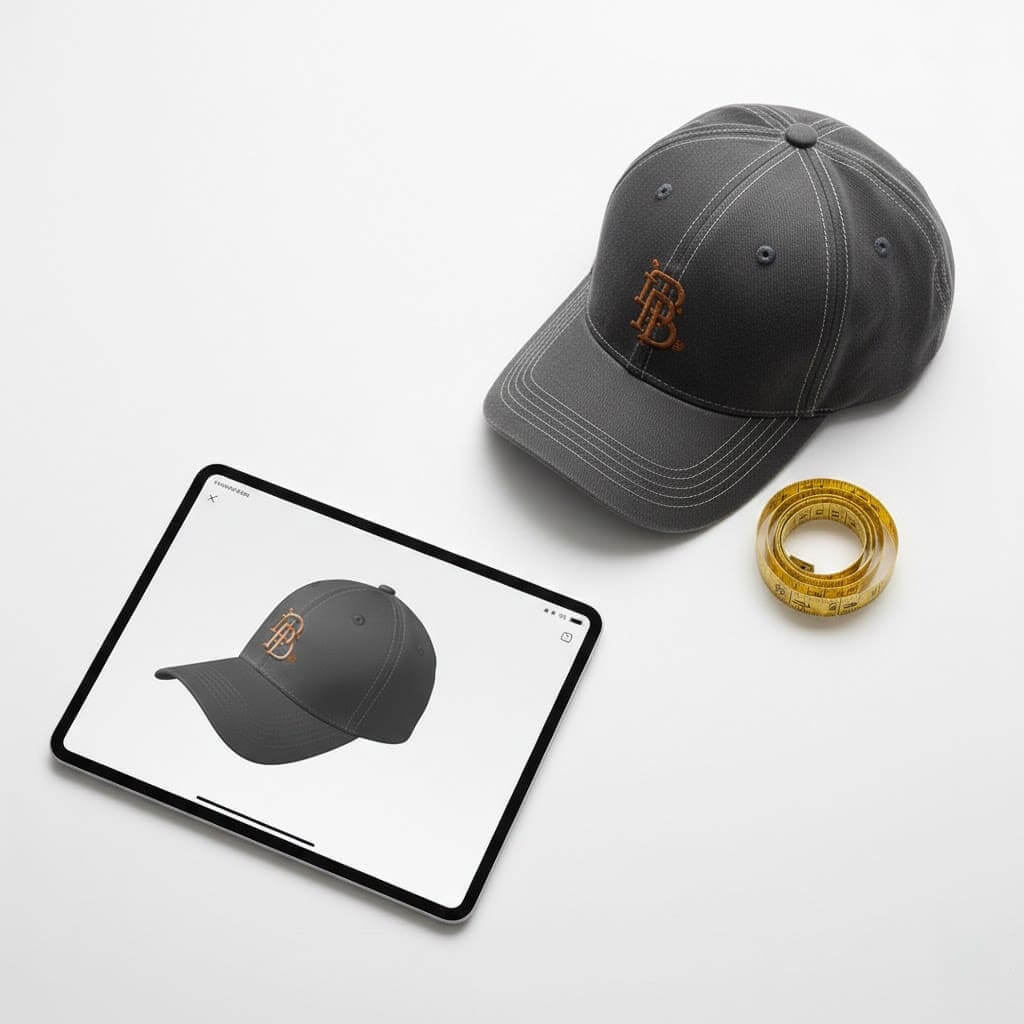
Use the following review sequence:
- Confirm spelling, dimensions, placement, and thread colors.
- View the logo straight on and on a worn crown, not only on a table.
- Check flat areas for gaps, puckering, pulling, or loss of small details.
- Check raised areas for exposed foam, open ends, uneven height, or compressed corners.
- Inspect the center seam and transitions between flat and raised stitches.
- Confirm the embroidery has not changed the intended crown profile.
- Record the approved artwork version, dimensions, placement, and construction in the production file.
Bulk inspection should compare production against the approved sample and documented tolerances. If the fabric, crown structure, logo size, or decoration method changes on a reorder, the previous stitch file may need review rather than automatic reuse.
Frequently Asked Questions
Is 3D puff embroidery always more expensive than flat embroidery?
Cost depends on logo size, stitch construction, number of placements, sampling needs, order quantity, and production handling. Raised embroidery can require additional material and process steps, but the supplier should quote the actual design rather than apply a universal rule.
Can small text use 3D puff?
Small or narrow text is often difficult to cover cleanly over foam. Keeping it flat, enlarging it, or simplifying the lettering may produce a clearer result. The physical sample should confirm the final decision.
Can 3D puff cross the center seam?
It can be possible, but the seam adds thickness and changes how the embroidery sits. Avoid placing tiny critical details directly on the seam, and evaluate the proposed design on the intended six-panel crown.
Should the same embroidery file be reused on every hat style?
Not automatically. Crown curve, panel construction, fabric, backing, and finished dimensions can change the result. The digitized file should be reviewed when the hat construction or placement changes.
Choose the Effect the Artwork Actually Needs
The best decision in flat embroidery vs 3D puff embroidery is the one that preserves the logo and fits the hat. Flat stitches offer flexibility and detail; raised stitches create emphasis when the artwork has the right width, shape, and support. Combining them can often produce a more balanced result than treating the whole design the same way.
If you are developing a private-label hat, send us your logo, intended hat style, dimensions, quantity, and target market. We can review the decoration as part of the full custom OEM hat development process and prepare it for physical sampling.