
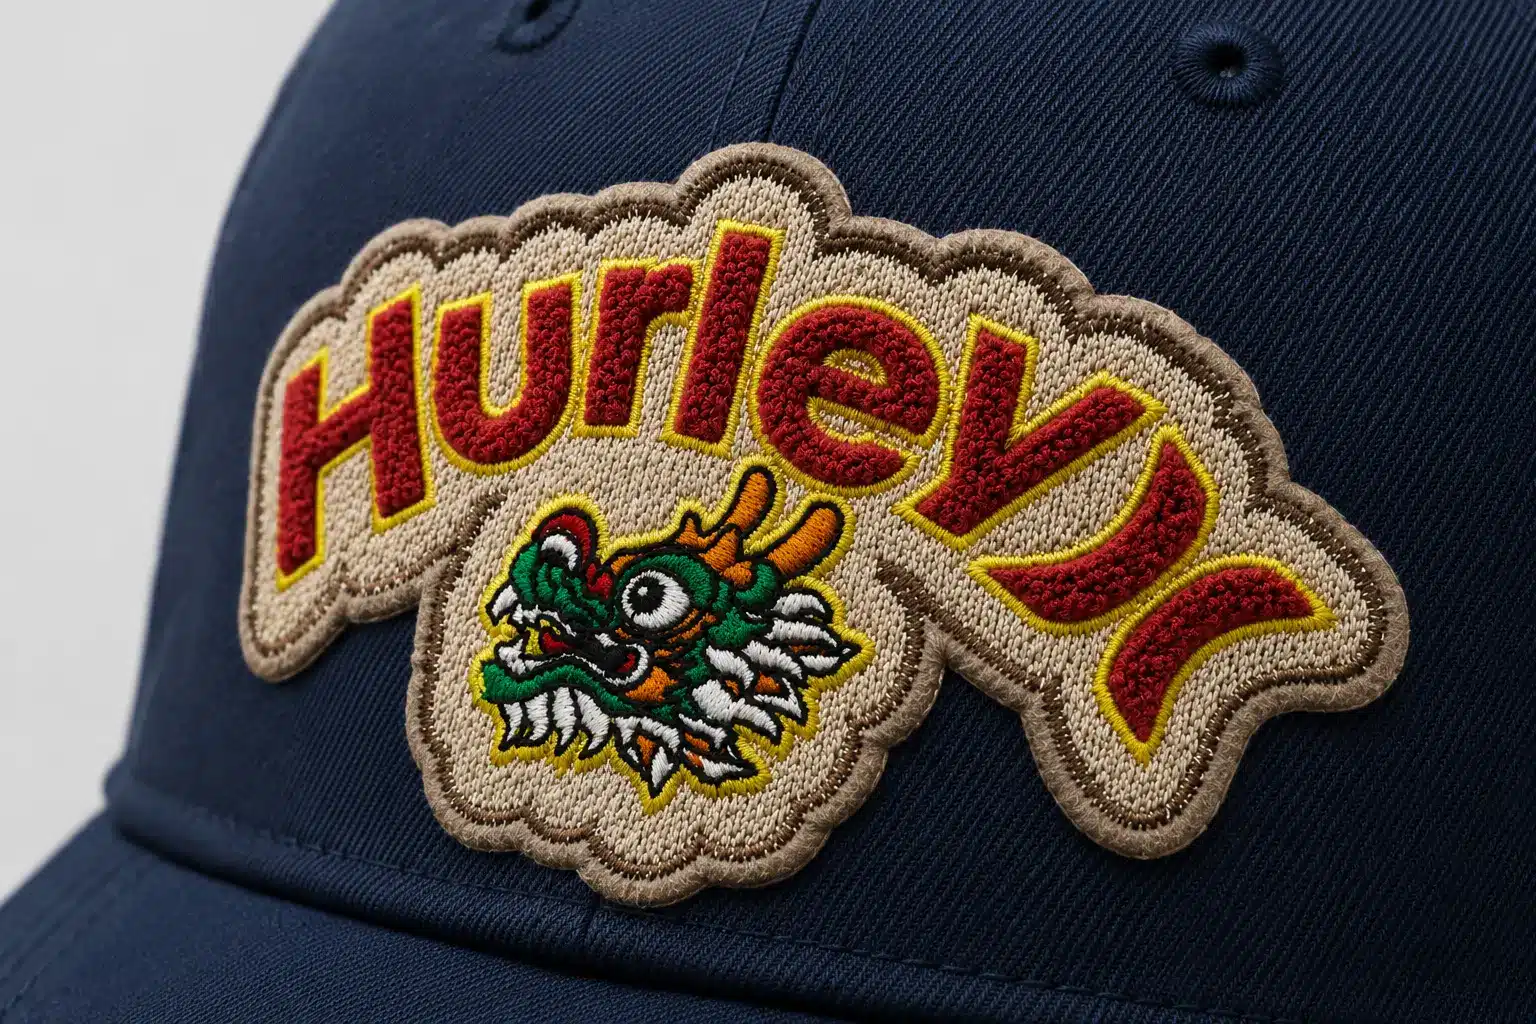
Custom chenille patch hats use looped yarn to create a soft, dimensional surface that is visually different from flat embroidery, woven patches, and 3D puff embroidery. The technique is closely associated with varsity lettering and heritage sports graphics, but it can also work for selected streetwear, outdoor, collegiate-inspired, and lifestyle collections.
Chenille is not automatically the best decoration for every logo or cap. The artwork needs enough space for the yarn texture, the patch must follow the crown without lifting, and the border and attachment method must support the intended use. A strong result begins with choosing the technique for the right design—not adding texture simply because it appears more substantial.
When Chenille Makes Sense for a Hat Collection
Chenille works best when texture is part of the visual concept. Bold initials, simple mascots, collegiate lettering, numbers, shields, and uncomplicated emblems can translate well. The raised loop surface makes these shapes easy to recognize and gives the patch a tactile character that cannot be reproduced by a flat woven label.
It is less suitable when the artwork depends on very small lettering, fine linework, close spacing, gradients, or photographic detail. Chenille yarn occupies physical space, so narrow gaps may close and sharp corners may soften. Those details can sometimes be handled with flat embroidery, a woven section, or a printed element within a combined patch.
| Design requirement | Chenille suitability | Possible alternative |
|---|---|---|
| Bold varsity letter or number | Strong fit | 3D puff embroidery for a cleaner raised edge |
| Simple mascot with large color areas | Often suitable | Combine chenille with flat embroidered details |
| Small text or thin outlines | Limited | Flat embroidery or woven patch |
| Gradient or highly detailed illustration | Usually not suitable by itself | Woven or printed patch |
| Minimal tonal branding | Depends on the desired texture | Direct embroidery, leather or silicone patch |
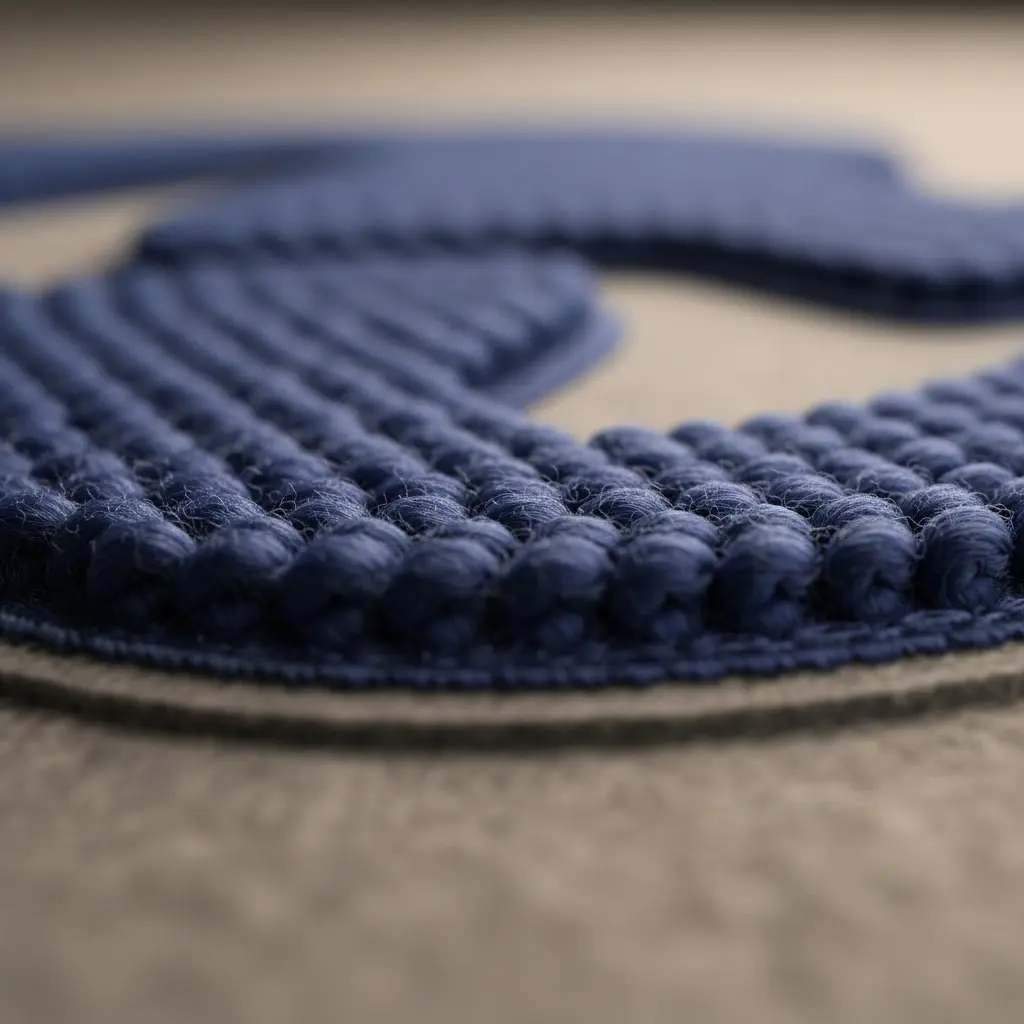
Start With the Artwork, Not a Fixed Patch Specification
There is no universal pile height, yarn count, backing thickness, or border construction that suits every hat. A larger front patch may need a different balance from a small side emblem. A structured trucker front behaves differently from a washed cotton crown or knit beanie.
Provide vector artwork when possible, the proposed finished dimensions, intended placement, hat style, color references, and any areas that must remain readable. The patch supplier can then evaluate which parts should use chenille and which should use another stitch method.
For mixed-technique artwork, mark the decoration areas clearly:
- Chenille areas: large shapes where plush texture is the priority.
- Flat embroidery areas: outlines, facial features, small text, shadows, and narrow separators.
- Base material: felt, twill, or another compatible substrate that supports the patch structure.
- Border: a finished edge that matches both the artwork and the intended attachment method.
Artwork may need adjustment at actual size. An enlarged screen preview can hide closed counters, crowded letters, and irregular spacing. Print the proposed layout at finished dimensions and review a physical patch sample before approving the hat.
Choose a Border That Fits the Shape
The edge controls both appearance and handling. A stitched border can give a traditional badge or varsity character and helps contain the patch edge. A clean-cut construction can suit shapes that need a flatter or more modern perimeter. The correct choice depends on the base material, contour complexity, and sewing plan.
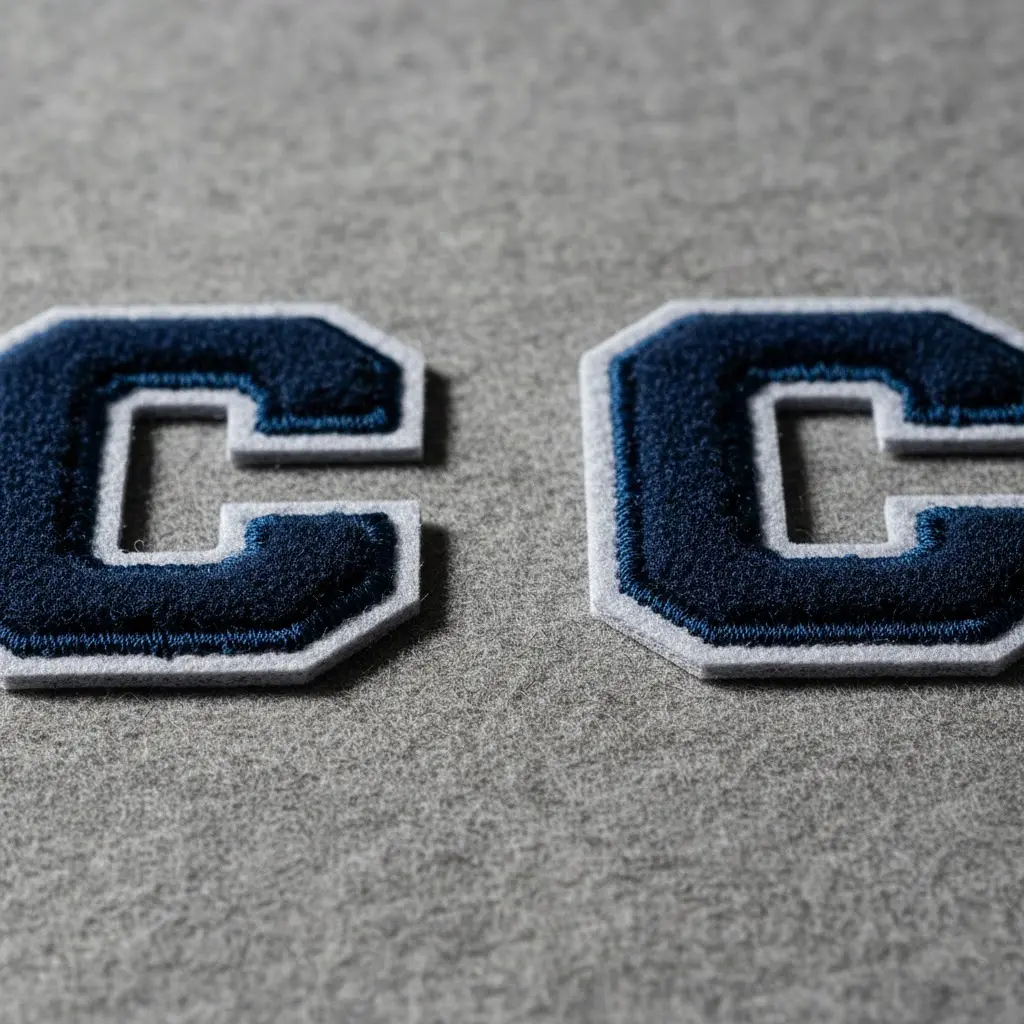
Very tight inside corners, narrow projections, and complicated outer profiles can be difficult to finish consistently. Simplifying the contour is often better than shrinking every detail. When a border is part of the logo, its width and color should be included in the approved artwork rather than decided during bulk production.
Match the Patch to the Hat Crown
A patch is first produced on a relatively flat base, but a cap crown is curved and may contain a center seam. The finished dimensions, stiffness, and placement determine whether the patch sits cleanly or pulls away at the edges.
On a structured crown, the front support can provide a stable surface, although an overly rigid patch may still resist the curve. On an unstructured crown, a heavy or large patch can influence the drape of the front panel. A five-panel cap may offer an uninterrupted placement area, while a six-panel cap introduces a center seam that needs to be considered in the artwork and attachment.
Before sampling, confirm:
- the finished patch width and height in relation to the usable front panel;
- whether the patch crosses a center seam or other thickness change;
- whether the outer corners follow the crown instead of projecting away from it;
- whether the crown has enough support for the chosen patch size;
- whether the visor-to-crown distance leaves enough room for sewing and visual balance.
Our custom hat styles page provides a starting point for choosing the crown construction. For a wider comparison of patches, embroidery, labels, and interior branding, review the customization options.
Attachment Should Be Selected for the Complete Product
Sewing, adhesive assistance, or a combination may be considered depending on the patch base, crown fabric, border, dimensions, and production sequence. No attachment method should be described as universally permanent. The method must be tested on the intended hat material and evaluated after the relevant product-use tests.
Perimeter stitching creates a visible mechanical attachment and can help hold an edge against the crown. Adhesive may be used to position or support certain constructions, but heat and pressure must be compatible with the yarn, patch base, crown fabric, coatings, and internal support. Excessive pressure can compress texture; unsuitable heat can affect other materials.
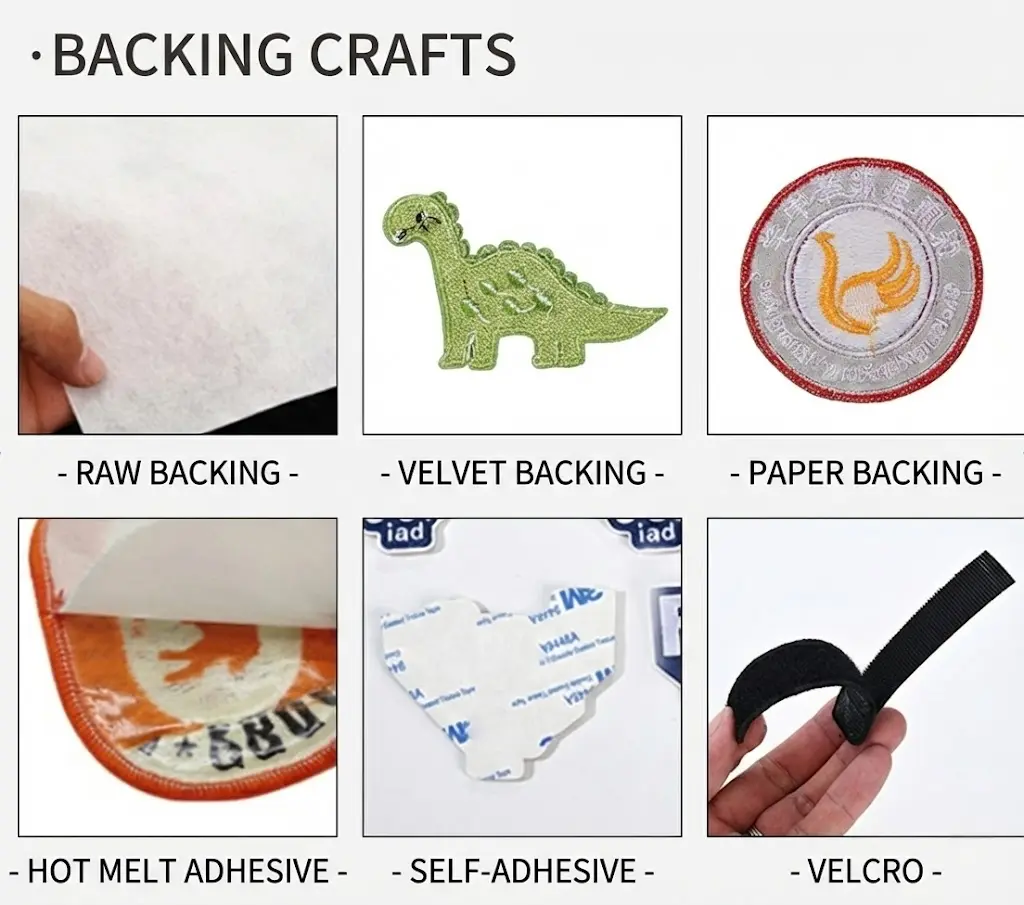
The attachment sample should be made on the intended crown, not approved as a loose patch alone. A loose patch can confirm color and artwork, but it cannot show how the edge follows the cap curve or how the complete crown feels.
What to Review on the Physical Sample
A useful sample review separates artwork accuracy from construction quality. Check the hat from the front, side, and while worn. Texture can change how a patch appears under different lighting, so do not rely on a single close-up photograph.
- Artwork: confirm spelling, proportions, colors, borders, and small flat-embroidered details.
- Texture: look for visibly thin areas, trapped yarn, unintended gaps, or inconsistent surface direction.
- Legibility: make sure counters and spaces remain open at normal viewing distance.
- Placement: verify height, centering, and relationship to the visor and panel seams.
- Edge contact: check for lifting, rippling, sharp corners, or excessive stiffness.
- Crown shape: confirm the patch has not flattened, twisted, or overloaded the intended profile.
- Interior finish: review the backing, stitching, thread ends, and any area that may contact the wearer.
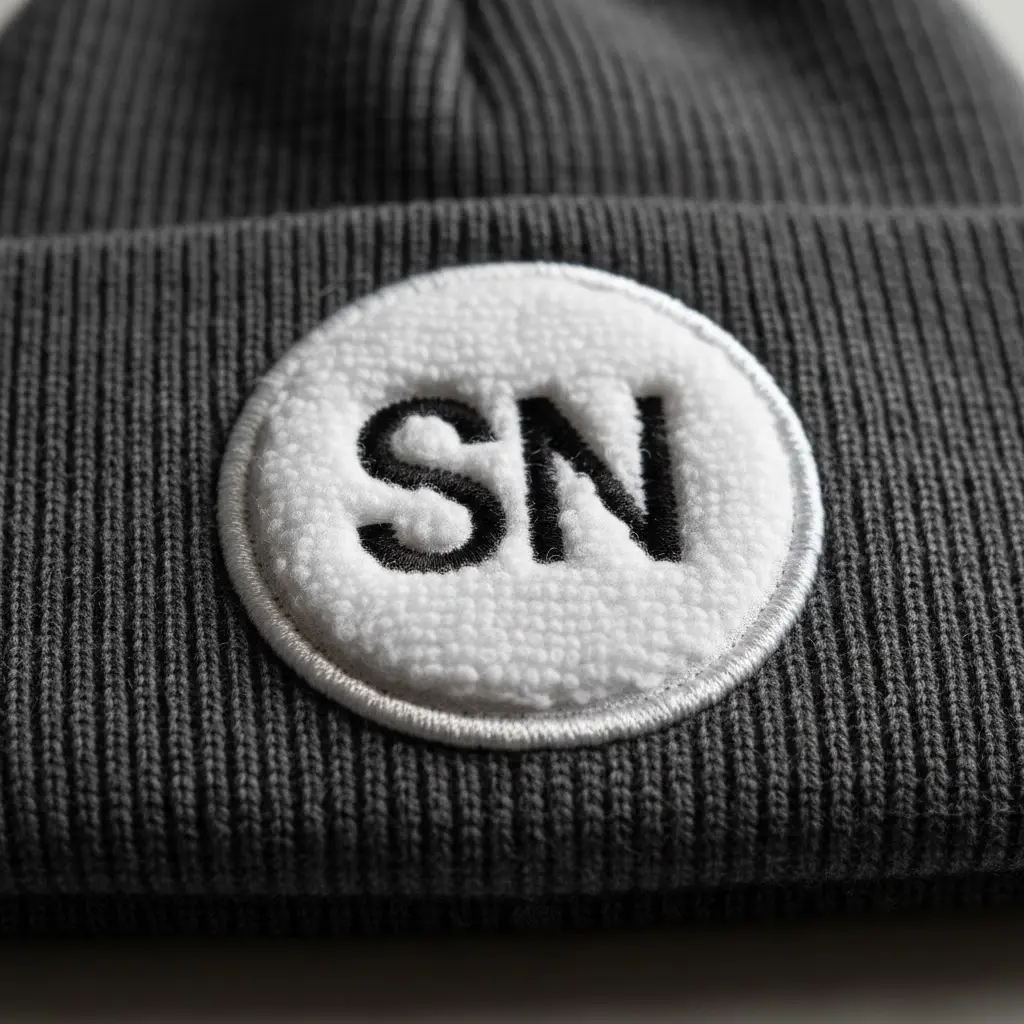
Keep the approved patch and completed hat sample as production references. Record the yarn and base colors, finished dimensions, placement, edge construction, attachment, and supporting flat embroidery. If the hat fabric or crown structure changes on a reorder, confirm whether another sample is needed.
Packaging and Handling Matter
Chenille texture can be compressed when hats are packed too tightly or when another component presses directly against the patch. The packing method should protect the crown shape and avoid unnecessary pressure on raised surfaces. This does not require a universal carton count; it requires checking the actual hat, patch dimensions, carton, and shipping method.
Care instructions should reflect the complete product, including crown fabric, visor construction, trims, dyes, adhesive, embroidery, and patch—not the chenille component alone. The brand should approve the final care wording and any market-specific product information.
Frequently Asked Questions
Are chenille patches suitable for small logos?
They can work for a simple mark with enough space between elements. Very small letters, thin lines, and tight gaps often reproduce more clearly in flat embroidery or a woven patch.
Can chenille be combined with embroidery?
Yes. A combined patch can use chenille for large textured areas and flat embroidery for outlines, small lettering, facial details, or separators. The technique map should be approved with the artwork.
Do chenille patches need a structured cap?
Not always. Patch size, weight, flexibility, crown fabric, internal support, and placement all matter. An unstructured hat may work with a suitably scaled and flexible patch, but the result must be confirmed on a physical sample.
Is chenille more durable than direct embroidery?
There is no universal answer. Durability depends on yarn, base, edge, attachment, hat use, care, and construction quality. Select the method for the desired appearance, then test the complete product against the brand’s actual requirements.
Use Chenille When Texture Supports the Design
Custom chenille patch hats work best when the artwork is bold enough for the material and the patch is engineered around the crown. The key decisions are not a fixed pile height or a promised retail margin; they are logo simplification, technique mapping, border construction, patch flexibility, placement, attachment, and physical sample approval.
If you are developing a chenille patch hat, send us the logo, proposed hat style, patch dimensions, quantity, and target market. We can review the patch as part of the full custom OEM hat development process and prepare the complete product for sampling.