
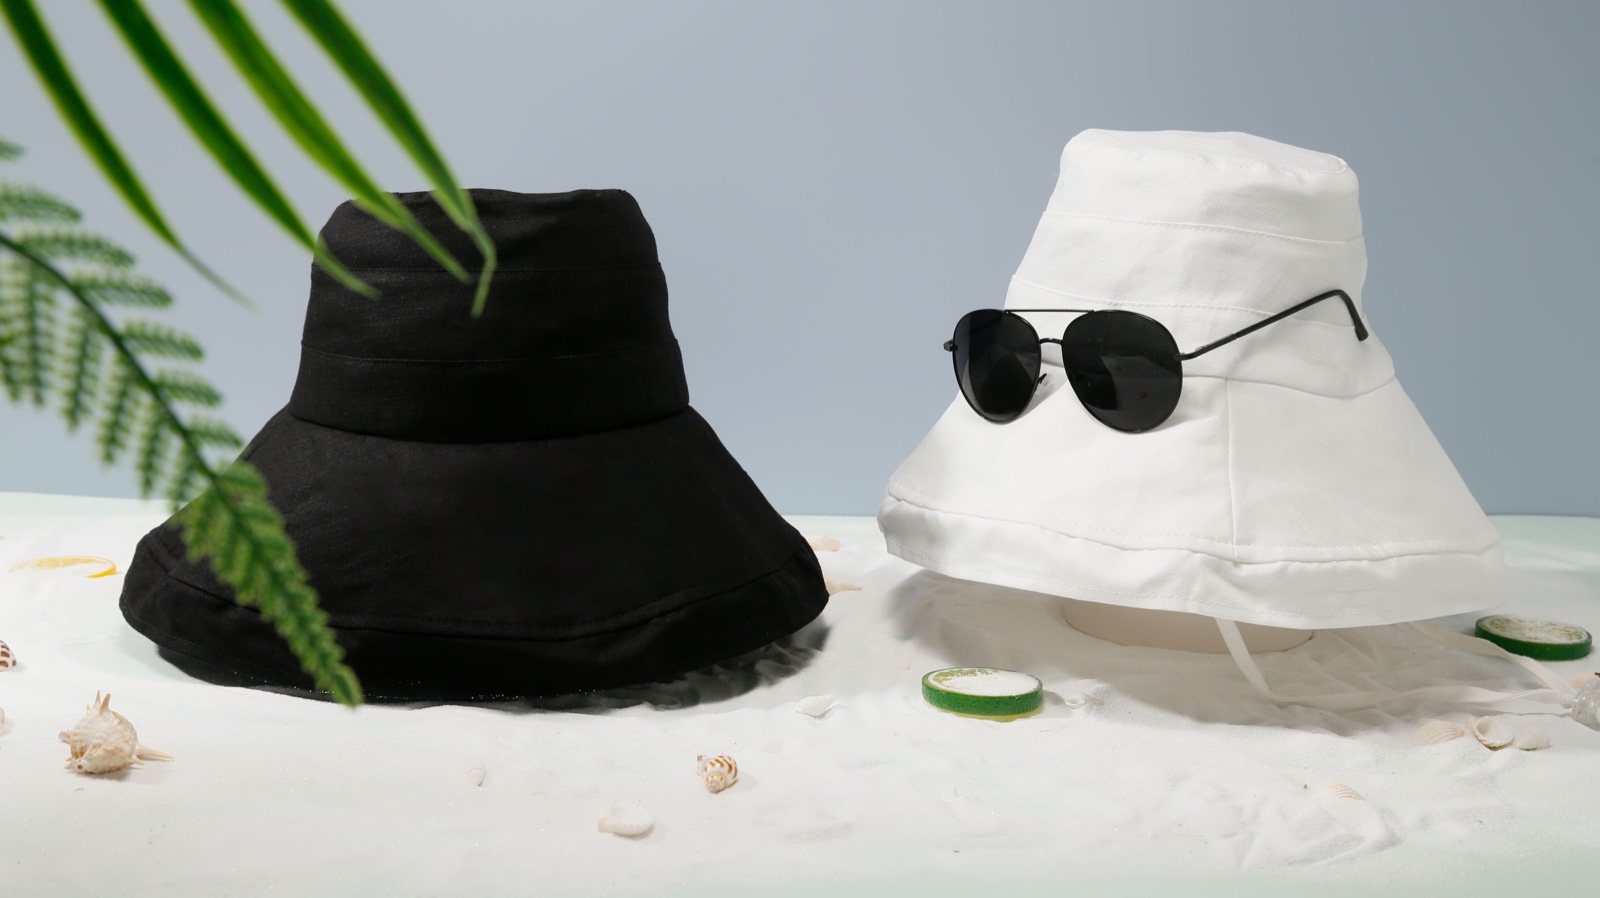
A bucket hat can match a reference photo and still disappoint when worn: it sits too low over the ears, the brim interrupts the wearer’s view, or the opening feels tight after a few minutes. Before approving bulk production, check the finished inside opening, crown depth and brim width on a physical sample worn by the intended audience.
Use this guide to turn a visual reference into a sample brief. It separates the dimensions that affect head fit from those that shape the silhouette, then shows what to record for each proposed size. The numbers in the photographed sample below describe that sample only; they are not a universal size chart.
First separate head fit from the outside silhouette
The finished inside opening determines whether the hat sits comfortably around the intended wearer’s head. Crown depth affects where that opening lands and whether the top of the hat feels cramped or leaves extra room. Brim width and angle change the visible shape and the wearer’s sightline. A photo of the outside cannot establish the inside circumference, and an “S/M” label alone cannot establish either one.
Keep two records in the sample brief: the finished hat measurements and the intended wearer range. They are related but not interchangeable. If the hat has an inner band, lining, or reversible construction, inspect the finished inside opening after those components are installed.
Five measurements worth putting on the sample sheet
| Measurement | Where to measure the finished sample | What to check |
|---|---|---|
| Inside opening | Follow the inside lower-crown or sweatband path, without stretching the hat unless an agreed method says otherwise. | Does the hat sit securely without uncomfortable pressure on the intended wearers? |
| Crown depth | Record the distance from the crown top to the crown–brim seam at a named point, usually center front. State whether the tape follows the surface or measures a straight height. | Where does the hat sit relative to the ears, forehead, and back of the head? |
| Crown top width | Measure across the top at the agreed seam or widest point on a relaxed, laid-flat sample. | Is the top proportion close to the approved reference silhouette? |
| Brim width | Measure from the crown–brim seam to the outer edge at the front, side, and back when the brim is not uniform. | Is the brim proportion right from all viewing angles? |
| Brim angle and shape | Record with a side-on photo of the finished sample, plus notes on downward slope or edge shape. | Does the brim frame the face and avoid an unwanted sightline obstruction? |
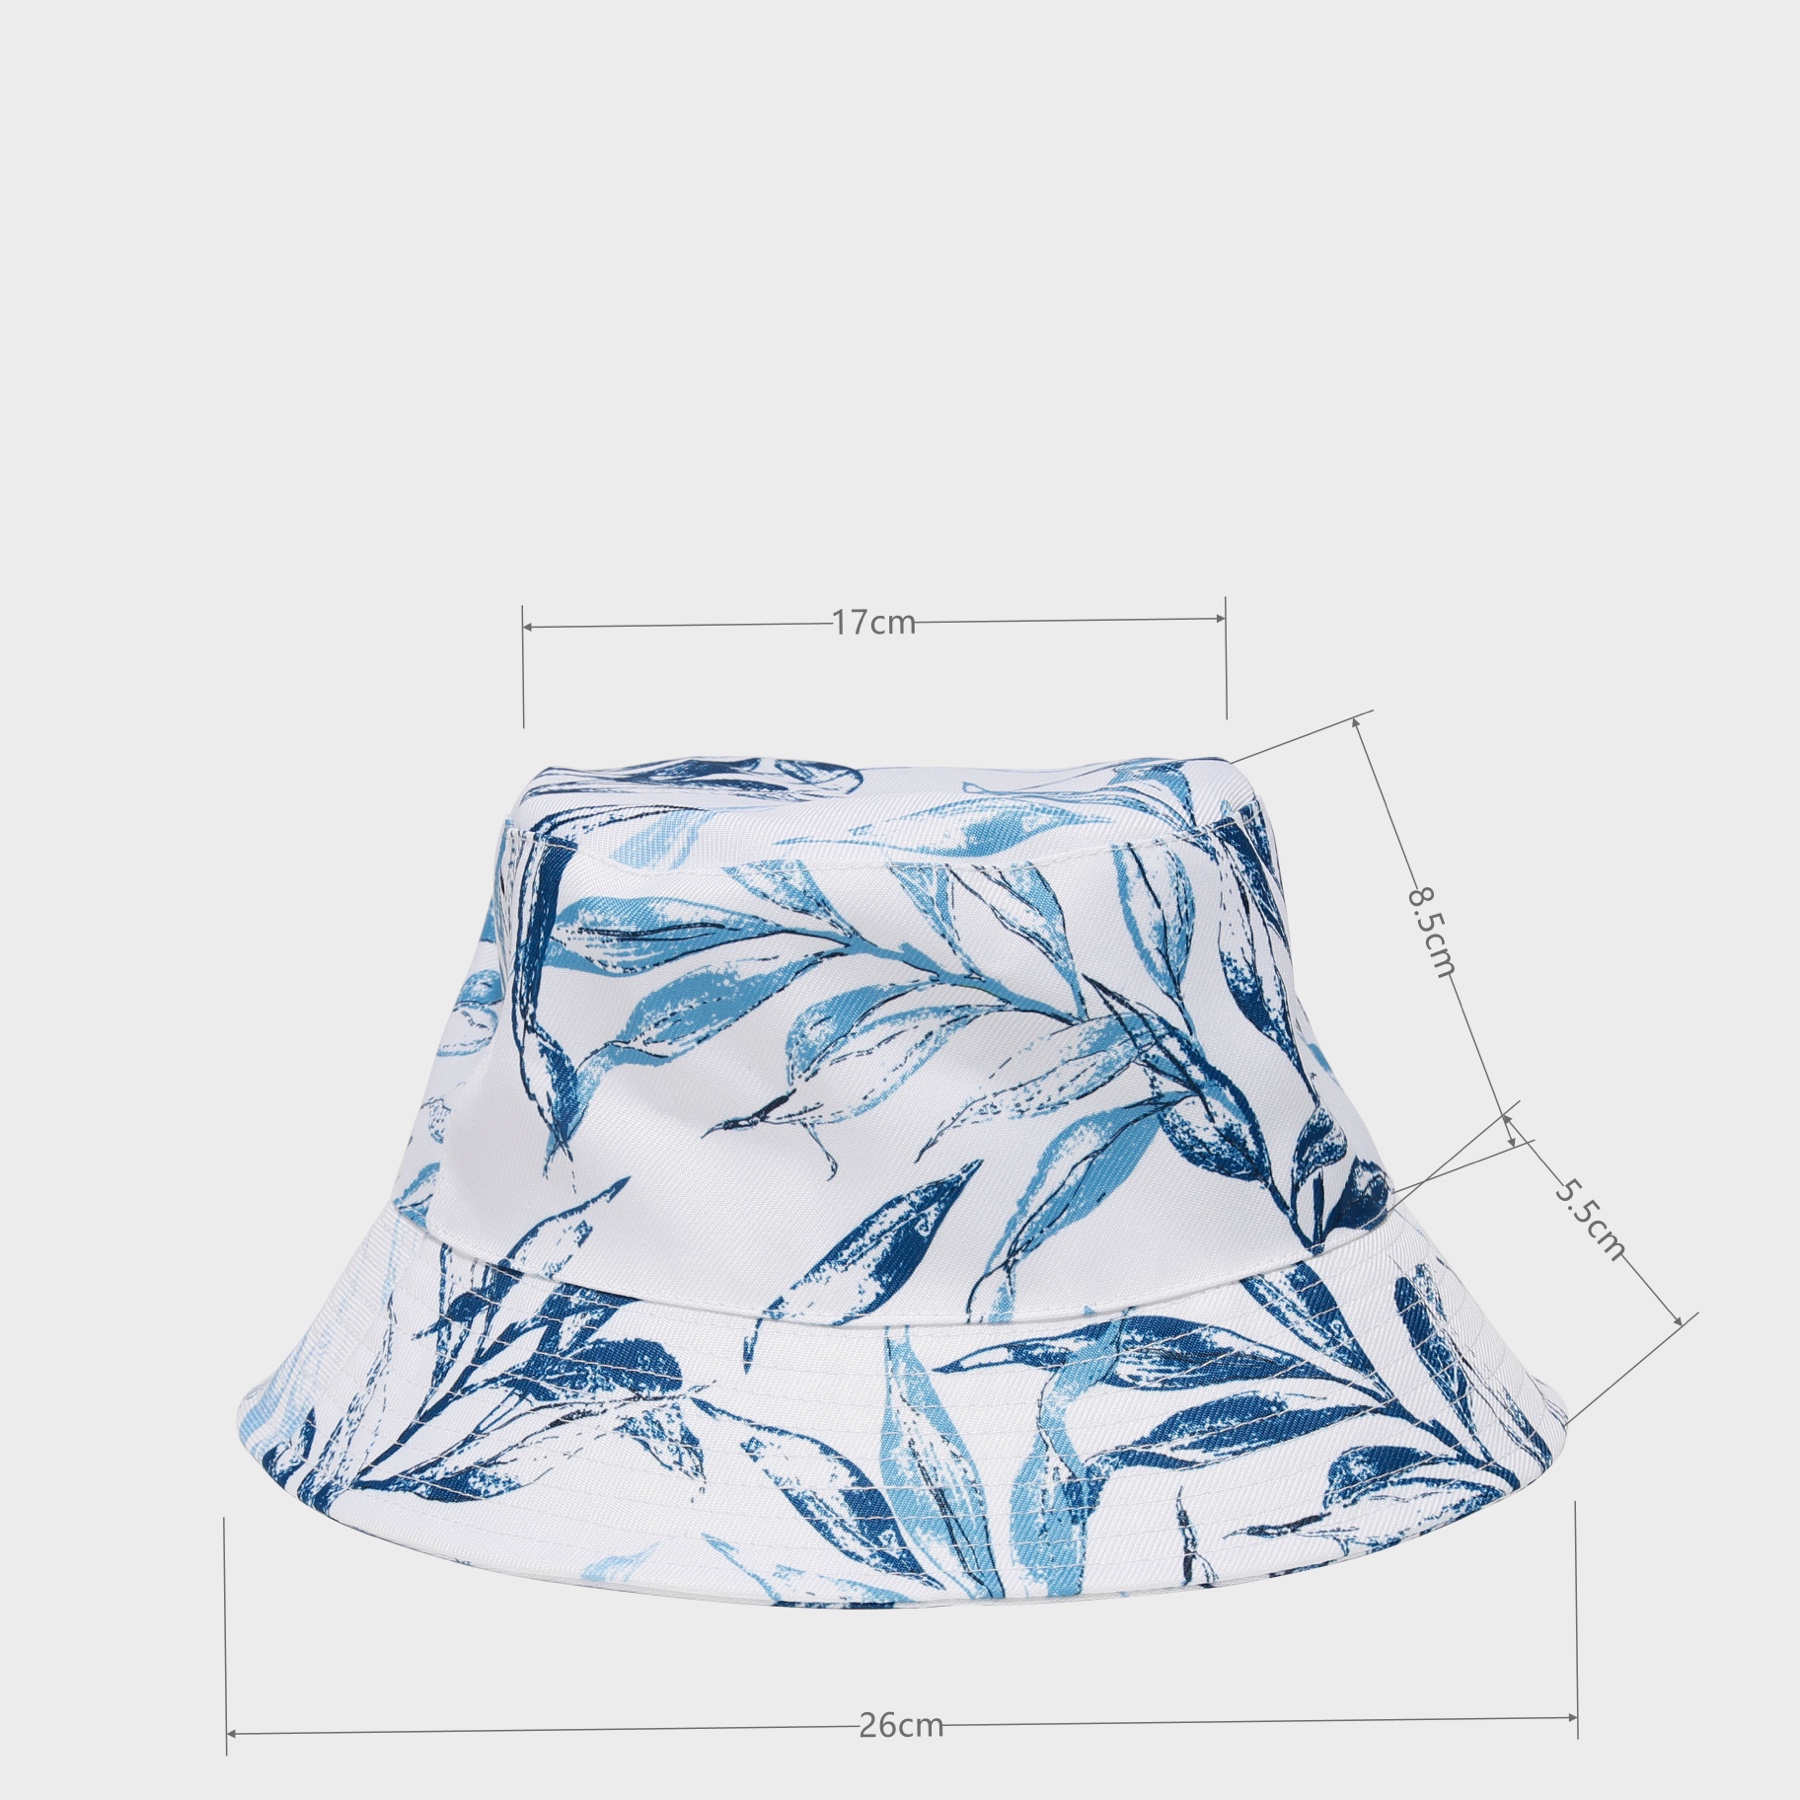
Use the annotated photo as a measurement-point example, not as a size recommendation. It marks crown-top width, crown section, brim width and outside span on one finished sample. It does not show the inside opening. Add that measurement to your spec sheet, and state whether crown depth follows the fabric surface or is measured as a straight height. The buyer and factory should check later samples using the same agreed points.
Why one dimension is never the whole fit story
Imagine a first sample that fits around the head but sits over the wearer’s ears and drops the brim into their sightline. Making the opening larger may loosen it without correcting the low position; compare crown depth and brim angle first. If another sample looks wider but still presses the forehead, measure its inside opening rather than judging the outer brim. Use these observations to decide what to adjust on the next sample.
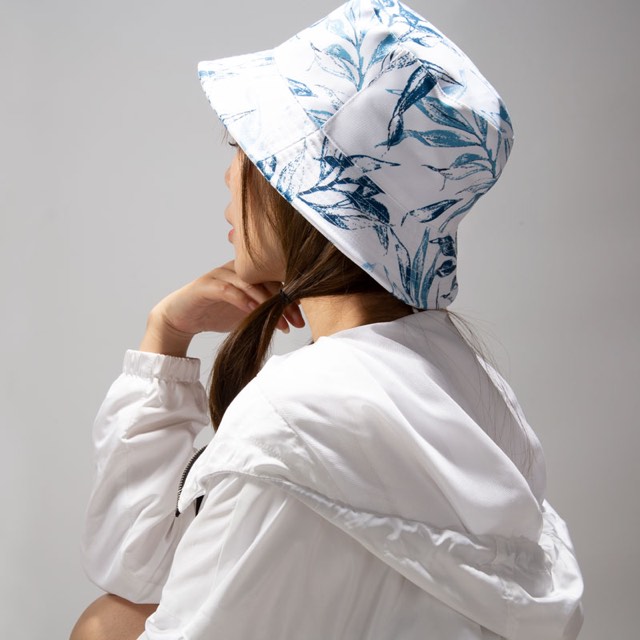
When comparing a reference to a sample, take straight-on, side-on and rear photos at the same camera distance. Photograph the hat on a head as well as off-head. The side view often reveals whether the crown collapses, sits too high, or pushes the brim into an awkward angle.
Choose the size range for the actual wearer group
“One size fits most” can be useful for some programs, but it is not a substitute for checking the audience. A retail collection, a staff uniform and a one-day giveaway can have different fit expectations. Ask who will wear the hat, how long they will keep it on, and whether multiple sizes can be stocked and distributed. Then test the proposed opening and crown depth on people who represent that group.
If you need more than one size, give each proposed size its own finished measurements. A larger size label alone does not show how the inside opening, crown depth and brim proportion have changed. Fit-test a physical sample of each size, record the wearer range it actually suits, and publish a customer-facing size chart only after the finished hats have been measured.
Adjust the brief for lifestyle or outdoor use
For a lifestyle hat, the buyer may prioritize a soft hand feel, a familiar silhouette and a brim that works with everyday clothing. For an outdoor-use hat, the brief may place more weight on stable wear, coverage preference, packability and how the hat behaves during movement. Neither label proves sun protection, water resistance or any other technical performance. Make such claims only when the selected material and finished construction have the appropriate documentation or test support.
In either case, ask wearers to walk, look down, turn their heads and wear the sample for a realistic period. Check whether the edge rubs the ears, the band presses the forehead, or the brim repeatedly needs readjustment. Those observations are more useful than approving a flat-lay photo alone.
Copy this sample-approval checklist
- Wearer and use: ______; wearing setting or duration: ______; reference photo and details to retain: ______.
- For each proposed size, record finished inside opening: ___ cm; crown depth at the agreed point: ___ cm; crown-top width: ___ cm; brim width at front / side / back: ___ / ___ / ___ cm. Mark every measurement point and method on a photo.
- Fit test for each size: wearer head circumference and sample size ______; forehead pressure, ear contact or blocked sightline ______; change requested before approval ______.
- Approved sample record: front, side, rear, top and inside photos; on-head fit photo where possible; material, lining, sweatband, decoration and reversible-construction details. Identify the size shown in every photo.
- Final sign-off: measured size chart ______; project-specific production variation ______; approved physical reference sample ______; buyer and supplier approval date ______. Agree on variation for this material and construction rather than copying a generic tolerance.
The goal is not to make every bucket hat look alike. It is to preserve the specific fit and proportion that made the sample worth wearing. If you are developing a collection, see our custom bucket hats page for lifestyle and outdoor program choices, or send us your reference and size brief to discuss a physical sample.